
안녕하세교 글쓰는 직장인 쿨캄준입니다.
오늘은 현관문에 자석으로 붙일 수 있는 센서등 개봉기에 대한 글을 작성합니다.
오래된 아파트나 몇 년 후 재개발에 들어갈 아파트 현관에는
원래 센서등이 없게 설계되어 있습니다.
오늘은 스마트하고 센스 있게 센서등을
타공 없이 설치할 수 있는 아이템을 리뷰합니다.

현관 자석 센서등은
쿨캄준의 돈으로
구매했습니다.

충전식 현관 자석 센서등
택배 상태입니다

아래와 같이 뽁뽁이에 돌돌 말아져 배송됩니다.

충전식 현관 자석 센서등을 뽁뽁이에서 꺼내보았습니다.
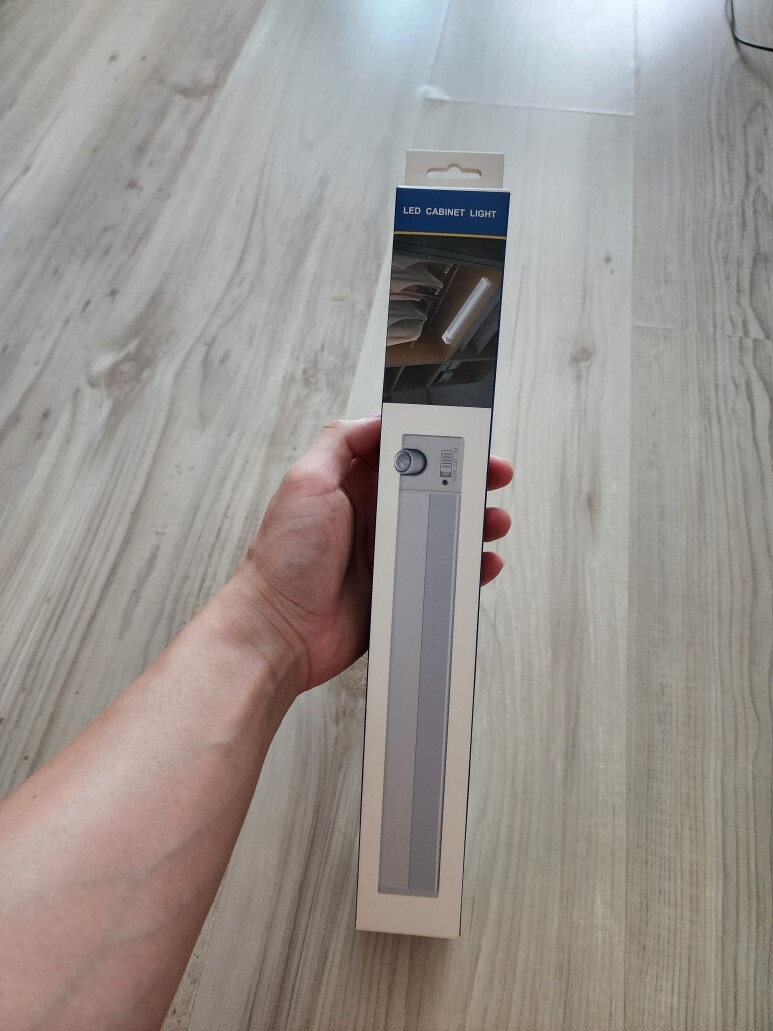
아래 문구 중 핵심만 전달합니다:
광량 및 모션 센서 탑재. 어두운 환경에서 사람의 움직임이 발생하면 불이 켜집니다.


충전식 현관 자석 센서등
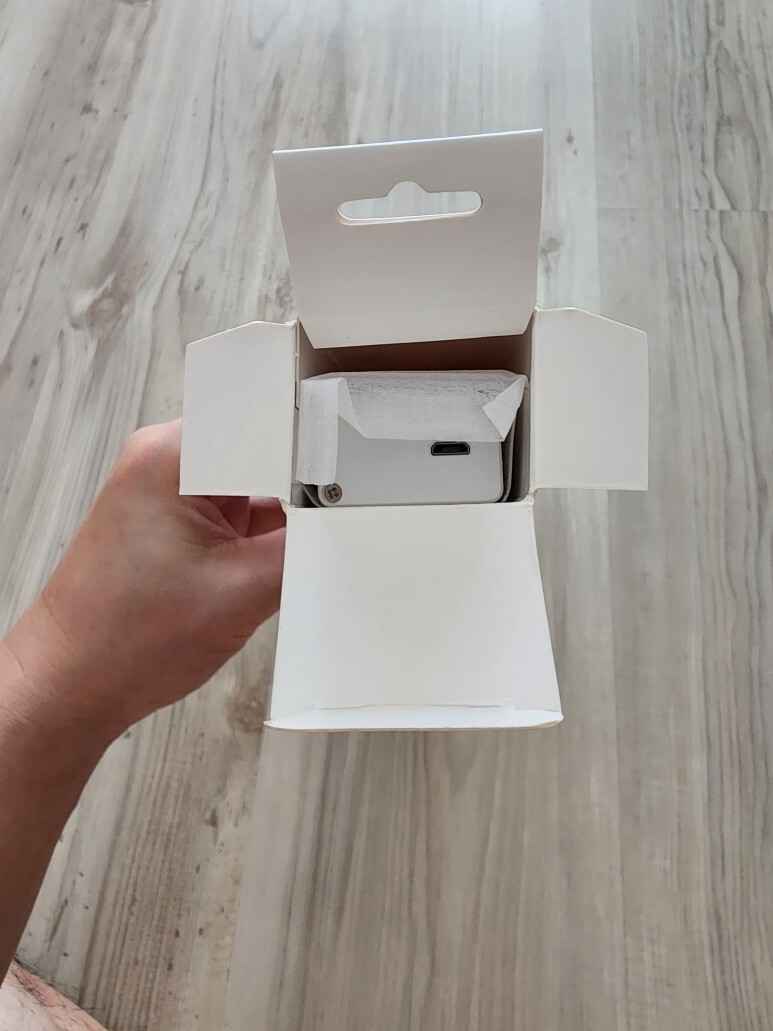
포장을 열어보았습니다

박스 위를 열어보았더니 아래와 같은 장면이 나옵니다.
요즘은 다 C타입이지만, 상자 내부에 충전선이 포함되어 있습니다.
상자 내에 모든 구성품을 꺼내 보았습니다.
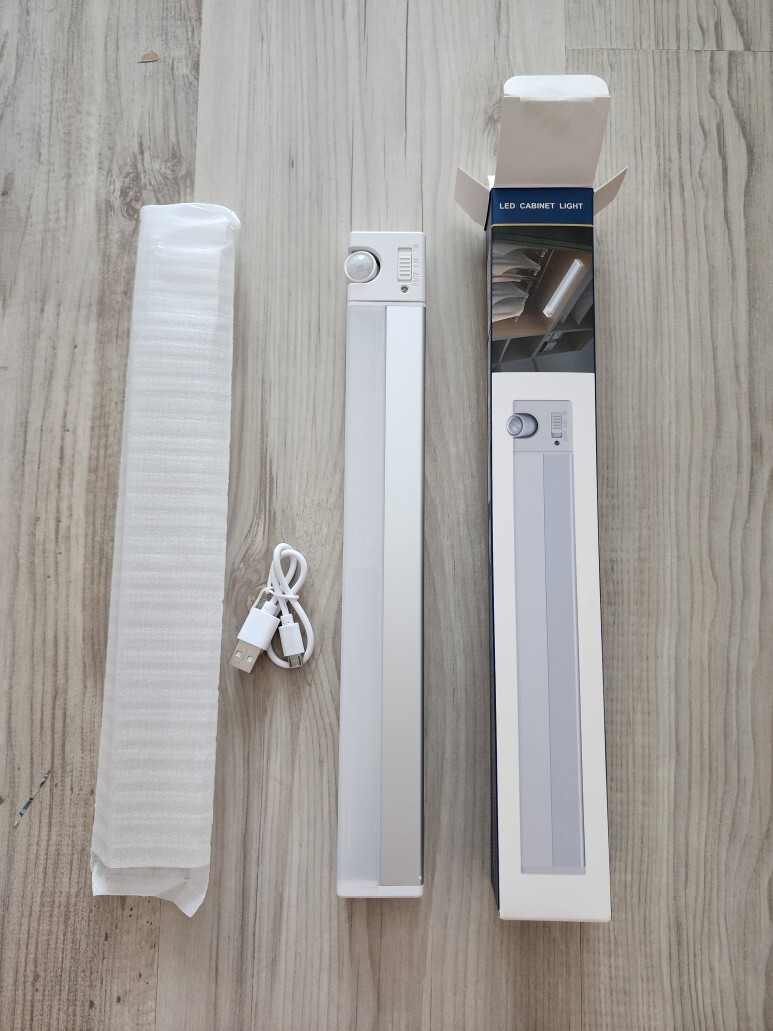
충전식 현관 자석 센서등
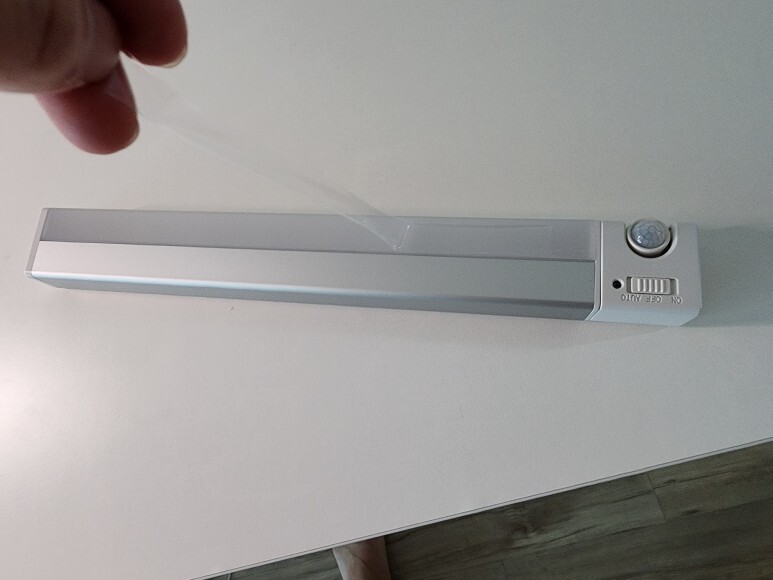
세부 사진컷입니다

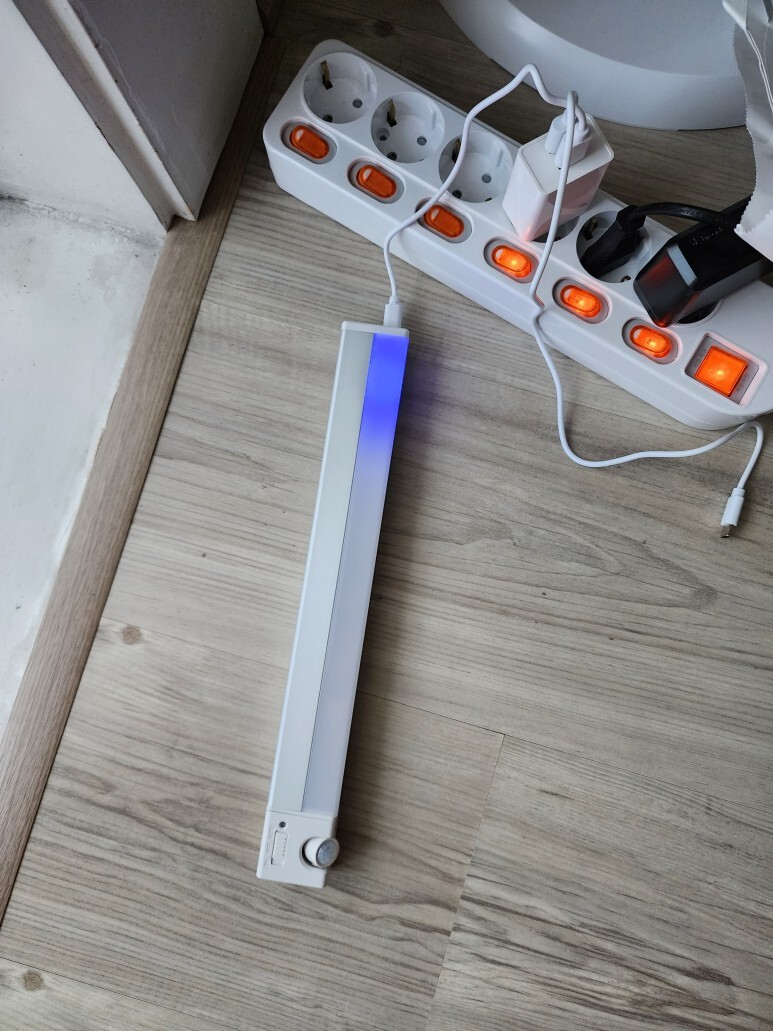
ON-OFF-AUTO로 스위치를 조정할 수 있습니다.
움직임 센서는 최대 90도로 움직입니다.


뒷면에는 자석 위에 3M 스티커가 붙어져 있습니다.
자석만을 사용하려면 3M 스티커를 그대로 두면 됩니다.


LED 등 위에 붙어있는 비닐을 제거합니다.
충전식 현관 자석 센서등
부착 사진입니다

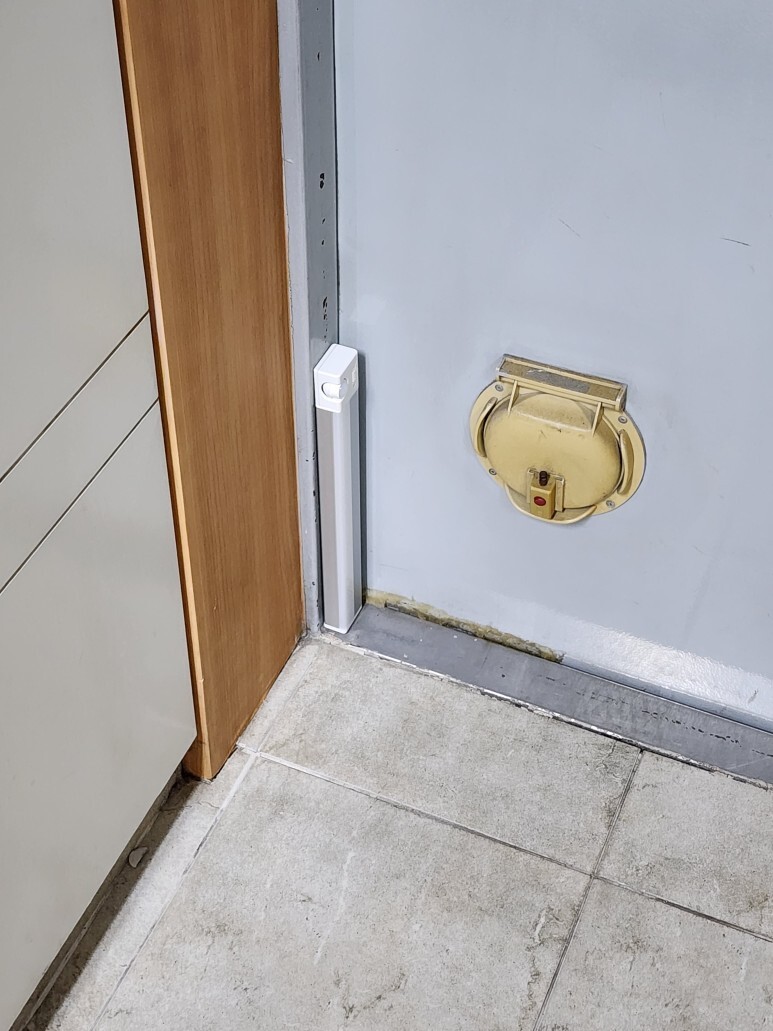
현관에 자석만을 사용하여 센서등을 붙여보았습니다.
문 옆 공간에 딱 사이즈가 맞네요.

자석으로 고정되어 있는 센서등이 켜진 모습입니다.
불이 켜지면 30초 동안 빛이 유지됩니다.

충전식 현관 자석 센서등
디테일 컷입니다

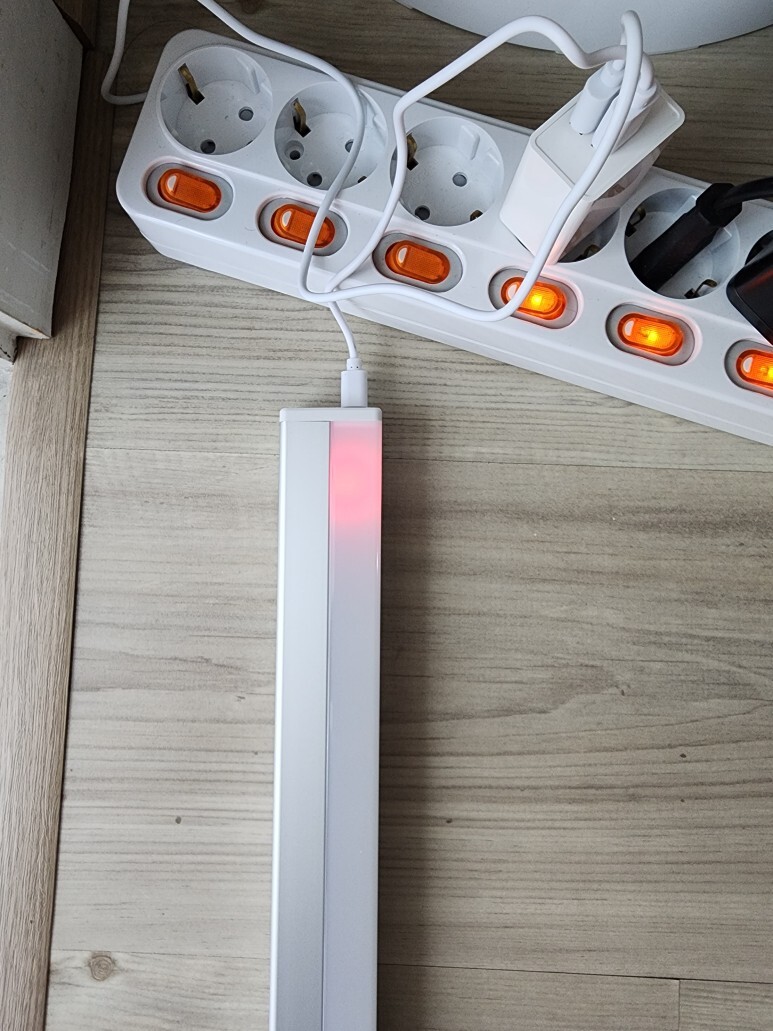
충전식 현관 자석 센서등이 충전중일 때는 빨간색입니다.
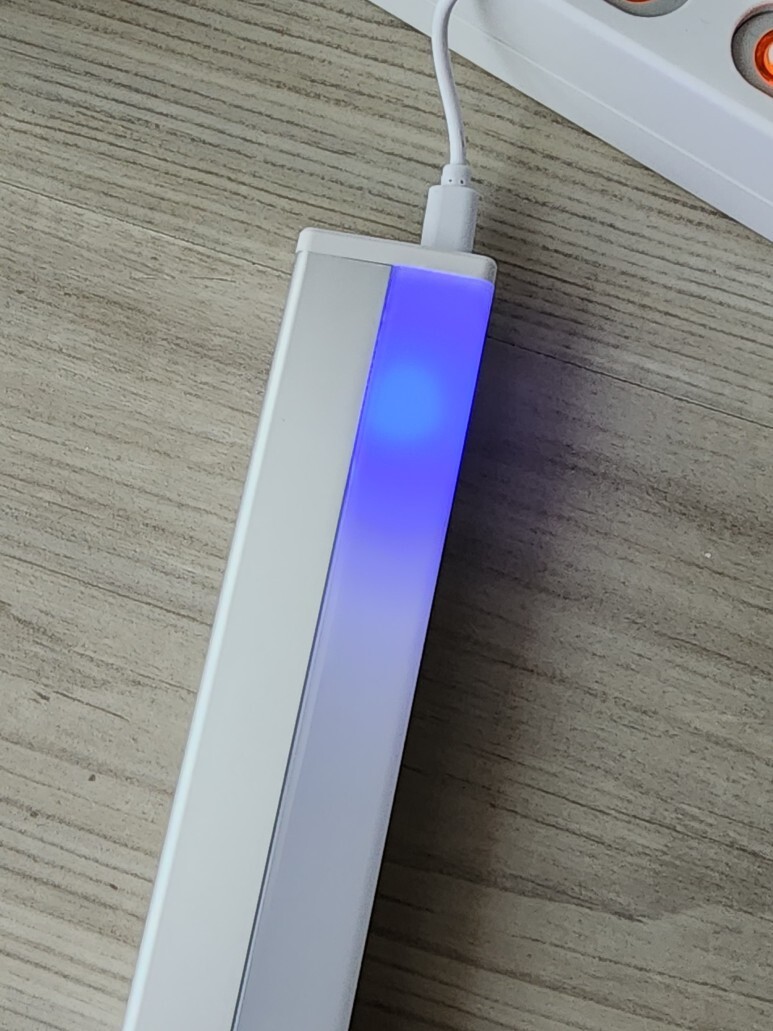
충전식 현관 자석 센서등이 충전이 완료되면 파란색으로 변합니다.
충전식 현관 자석 센서등
아쉬운 점 하나..
자석이 생각보다 강력하지 않습니다.
위에 붙였지만 서서히 흘러내려 아래 사진처럼 되었네요.
다행히도 흘러내린 뒤에는 저렇게 붙어있습니다.
https://tv.naver.com/v/40183849
현관 무타공 센서등 설치 후 사용 영상
글쓰는 직장인 쿨캄준 TV | 현관 무타공 센서등 설치 후 사용 영상입니다.
tv.naver.com
좋은 현관 센서등 선택하기 바랍니다.
쿨캄준의 리뷰였습니다!

'글쓰는 직장인 CCJ > CCJ의 Review' 카테고리의 다른 글
| 아크릴 앨범 및 책 거치대 리뷰(ft. 도서 스탠드 구매후기 영상) (0) | 2023.09.17 |
|---|---|
| 펀코팝 케이스 착용 후기(ft. 에미넴 funkopop 케이스 영상 리뷰) (0) | 2023.09.16 |
| 스누피 리멘트 커피 피규어 리뷰(ft. Life in a Bottle Coffee Pot 개봉 후기) (1) | 2023.09.06 |
| 아베라 책상 책꽂이 3단 정리함 개봉기(ft. 화이트 색상 리뷰 및 제품 사이즈) (1) | 2023.09.06 |
| 코쿠보 싱크대 음식물찌거기 거름망 청소솔 개봉기(ft. 청소솔 사용 영상 포함) (0) | 2023.09.03 |


